Every now and then it is necessary to calibrate the DJI Mini 2 gimbal to ensure the correct alignment of the camera. How to do this in a few seconds, we tell you in this tutorial.
Depending on how often you use your DJI Mini 2 drone, it may be necessary to recalibrate the gimbal sooner or later. This ensures that the alignment of the camera is correct again and that you no longer have to straighten the recordings with image and video editing solutions in the truest sense of the word.
This is because during transport or frequent use, the horizontal alignment of the gimbal may no longer be completely accurate, causing the shots to be crooked.
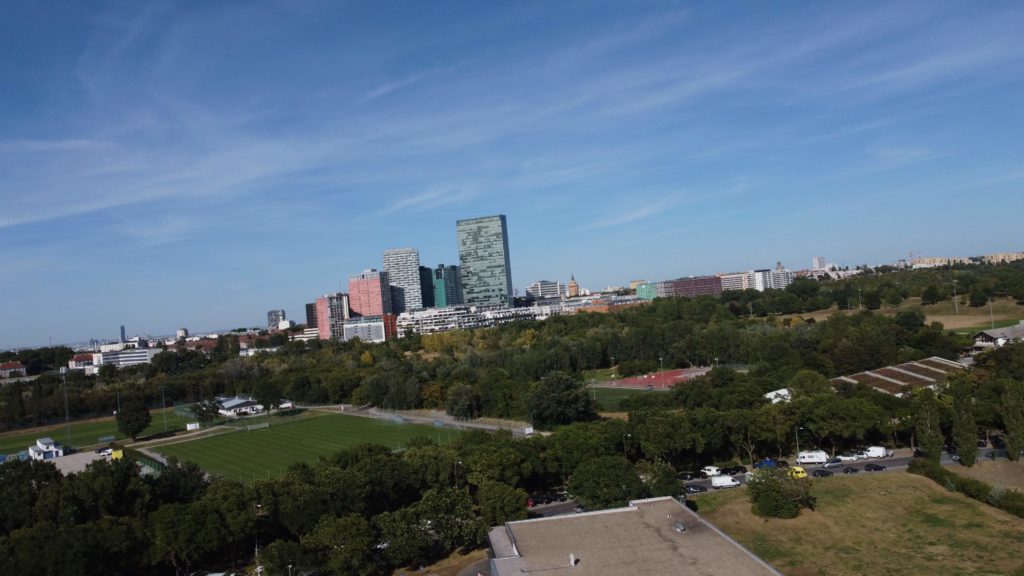
How to calibrate the DJI Mini 2 gimbal you will learn in the following paragraph.
Automatic calibration of the DJI Mini 2 gimbal
If you want to go the easy and quick way, you can have the automatic calibration of the gimbal done by the DJI Fly App. Proceed as follows:
Time needed: 1 minute
Automatic calibration of the DJI Mini 2 gimbal
- Launch DJI Fly App
Launches the DJI Fly app with the remote control connected.
- Launch DJI Mini 2
Starts the DJI Mini 2 to get access to the live image.
- Preparation
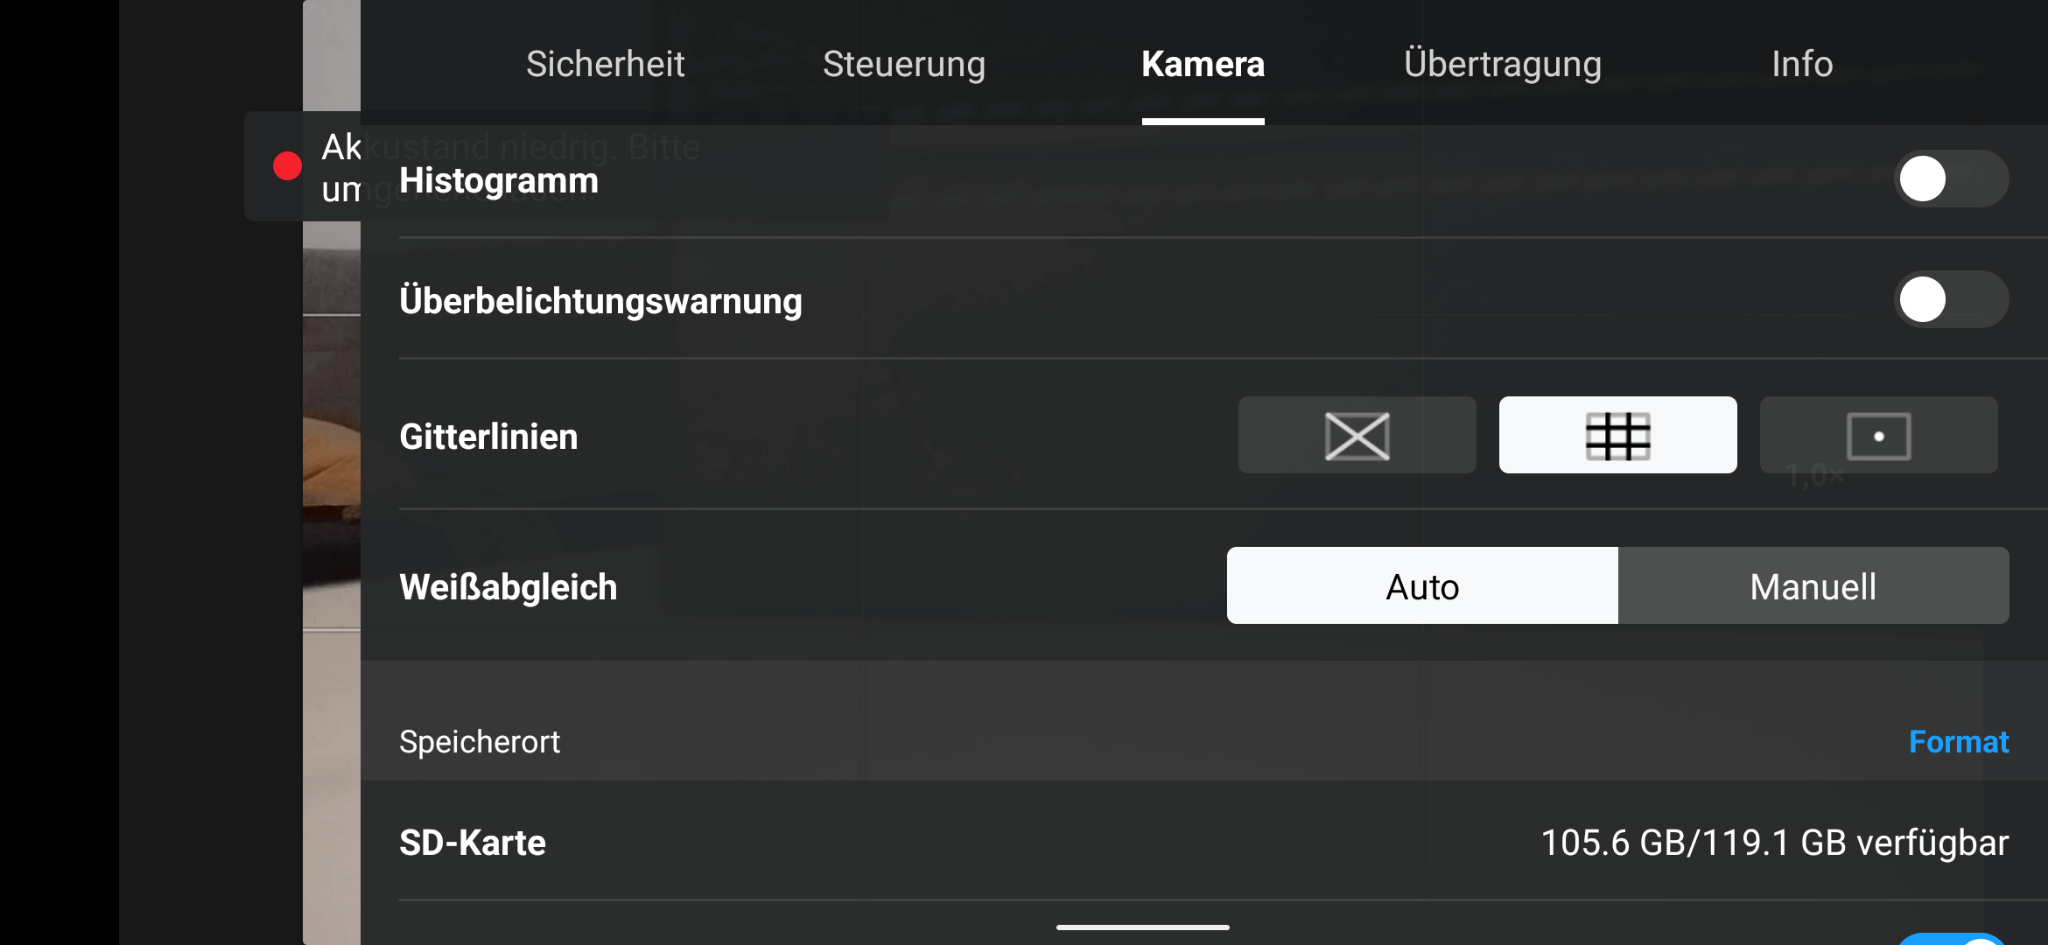
Now place the Mini 2 on a flat surface. Ideally, the Mini 2’s camera should then point at an object with a horizontal line – for example, the edge of a table (see article image). In addition, activate the middle grid lines option in the Camera tab of the settings. This makes it easier to check whether the calibration was successful.
- Open settings
In the live view, select the three dots (…) in the upper right corner to open the menu.
- Switch tab
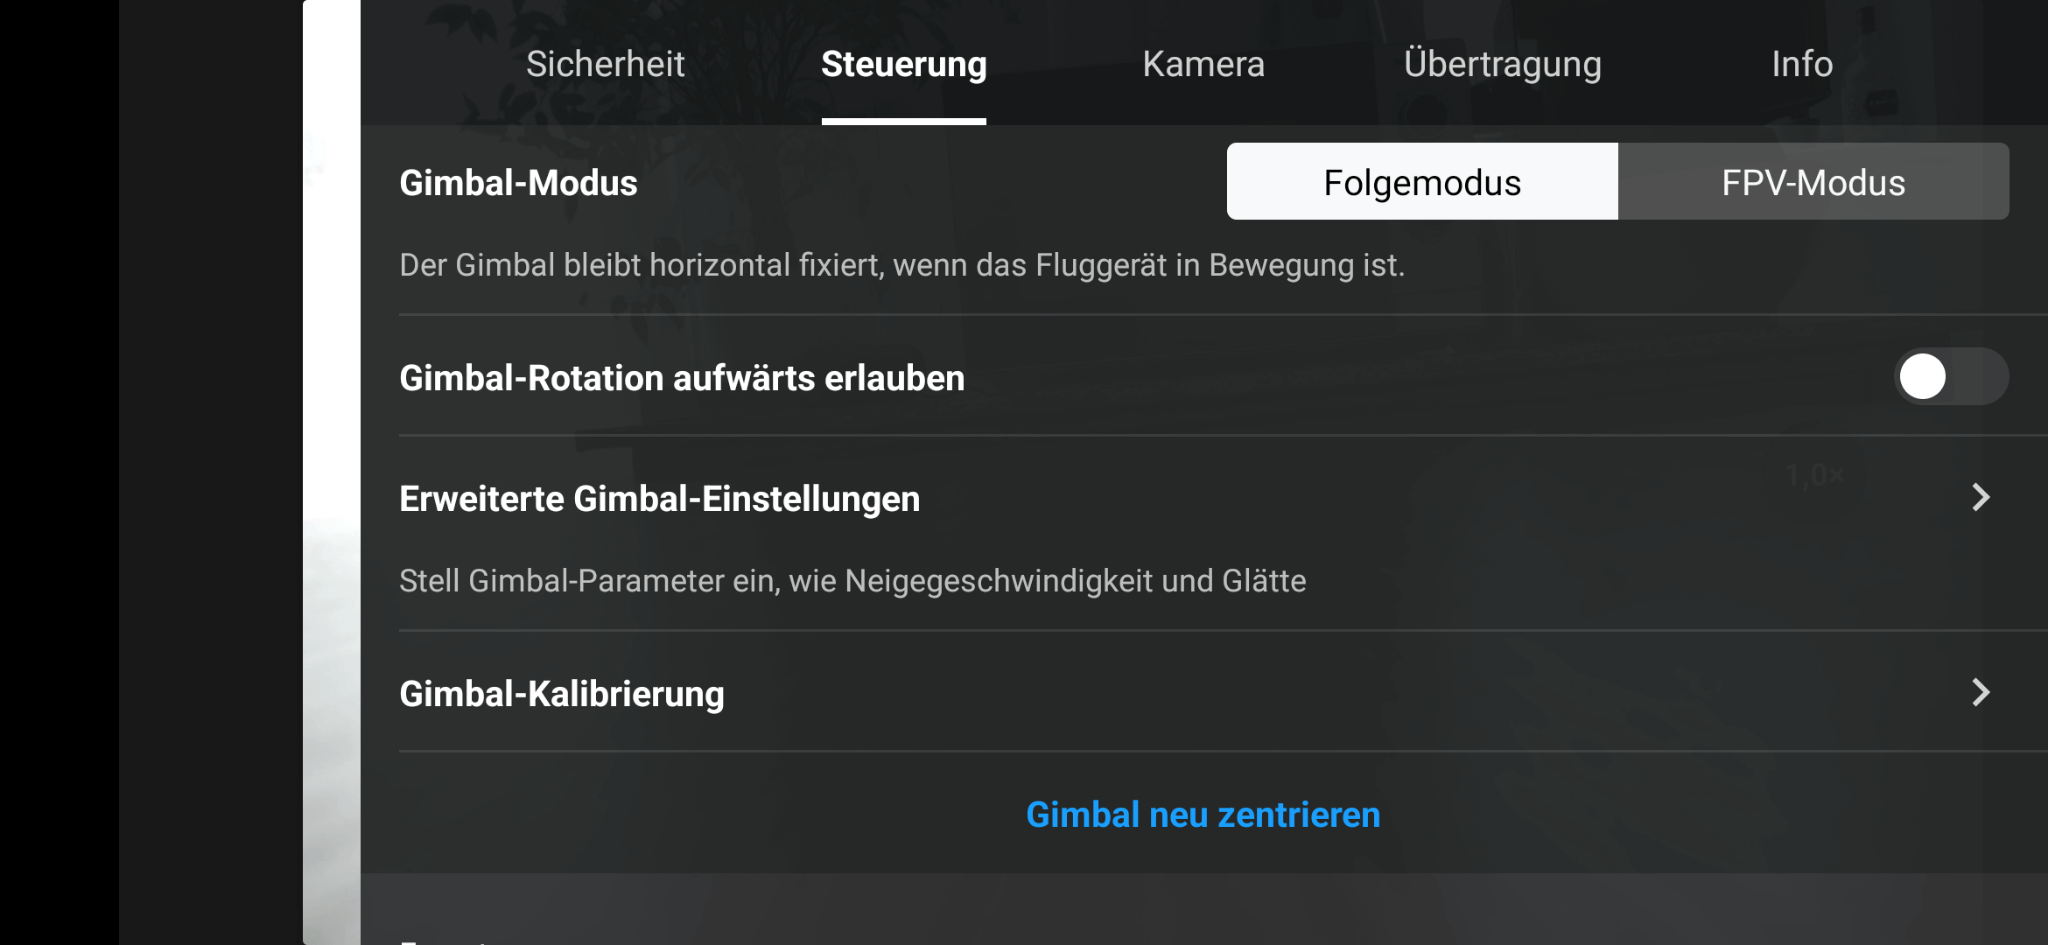
Switch to the Control tab.
- Select Gimbal Calibration
Scroll down to the Gimbal Calibration item and tap it.
- Select calibration option
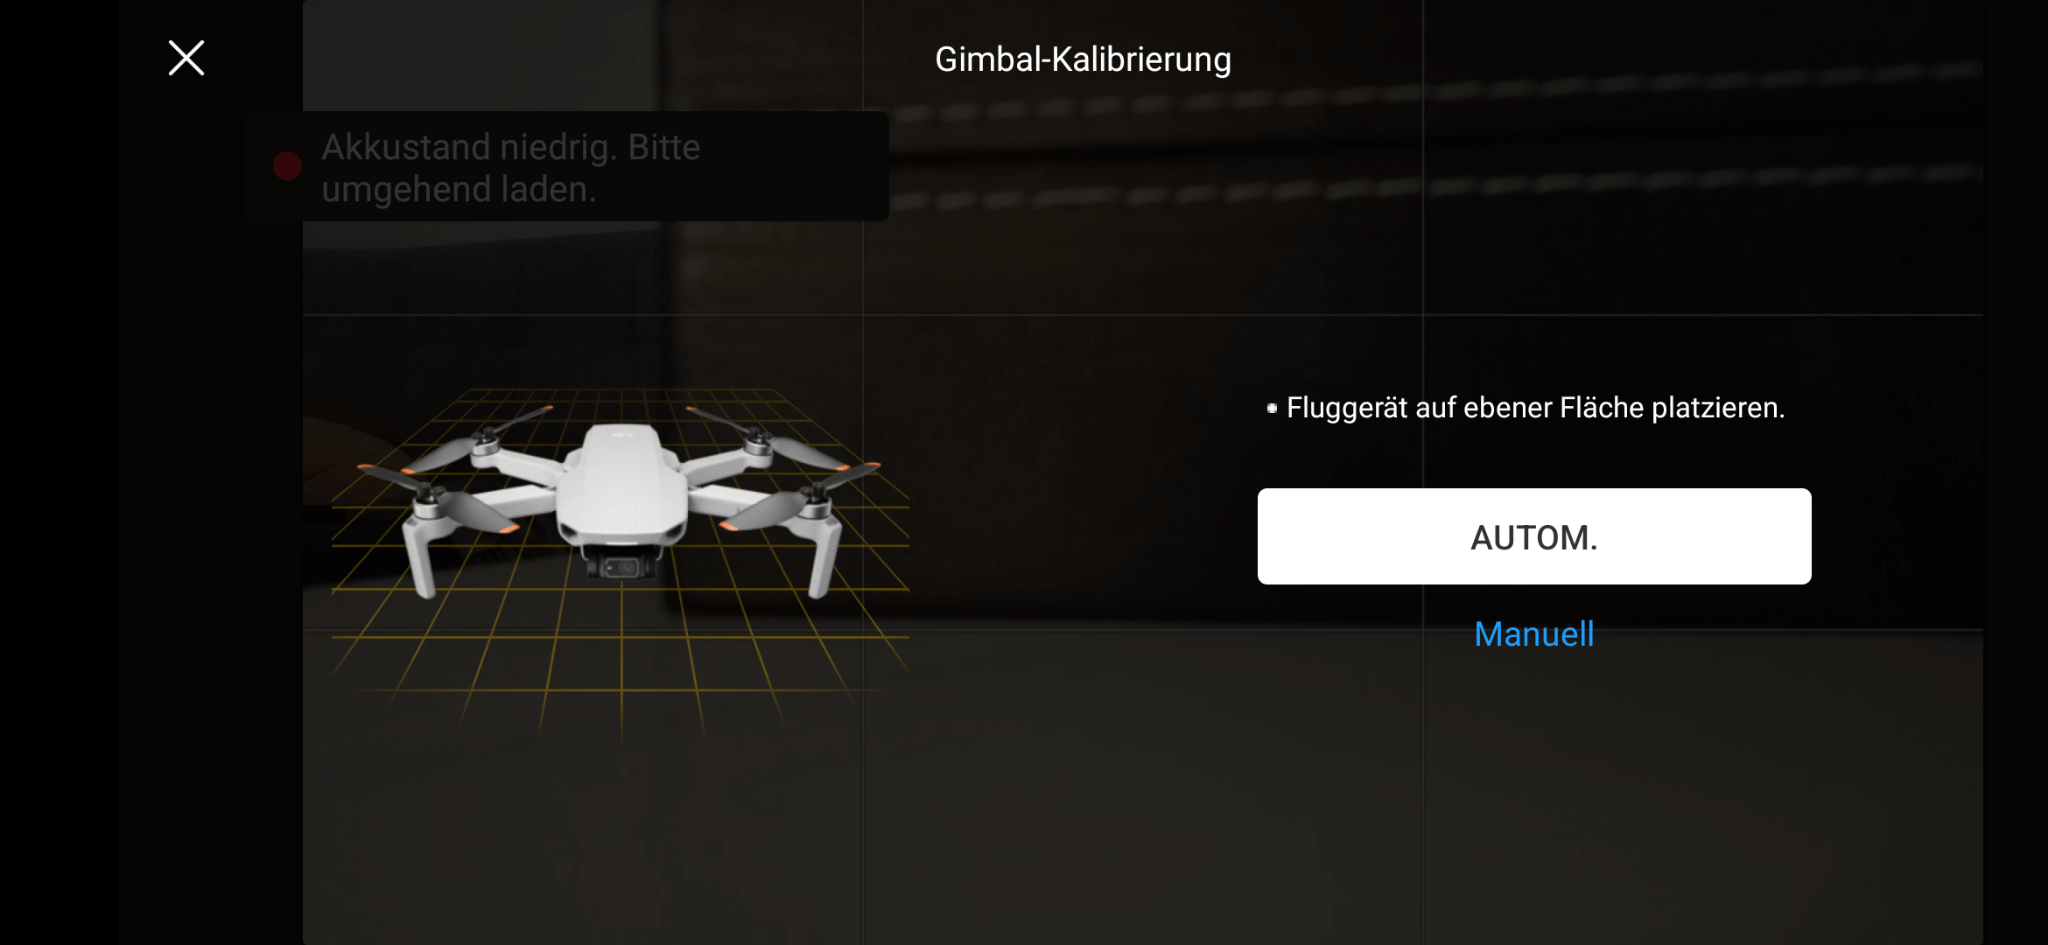
In the new selection dialog, select AUTOM.
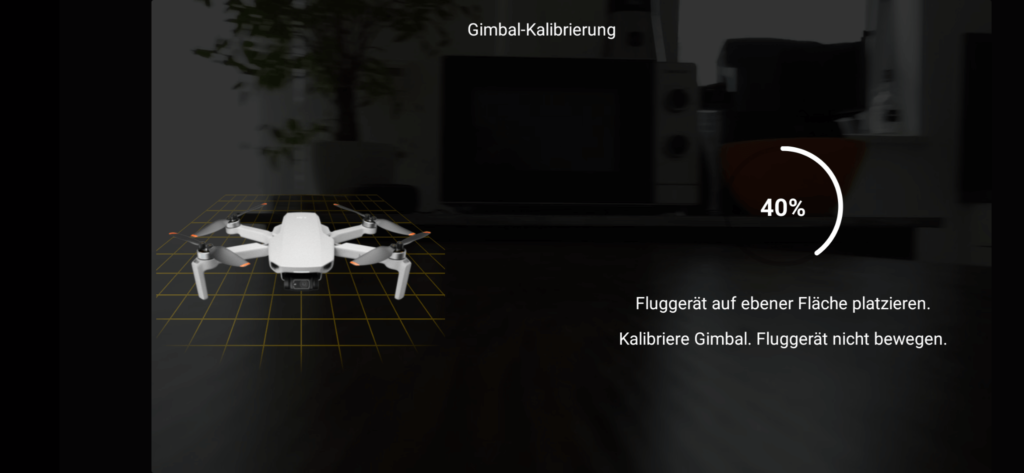
The DJI Mini 2 will then automatically start to realign the gimbal. The process only takes a few seconds and you will then see the live image of the drone again. There you should be able to check whether the gimbal calibration was successful and the camera is correctly aligned horizontally again.
If you are not satisfied with the result, which could be quite likely, you still have the option to readjust manually.
Manual calibration of the DJI Mini 2 gimbal
To manually align the gimbal or make corrections after automatic alignment, proceed as follows.
- Steps 1-6 identical as above.
- After clicking on Gimbal Calibration, this time select Manual.
- In the new window you now have two fields for horizontal and yaw angle with the possibility to increase or decrease the value.
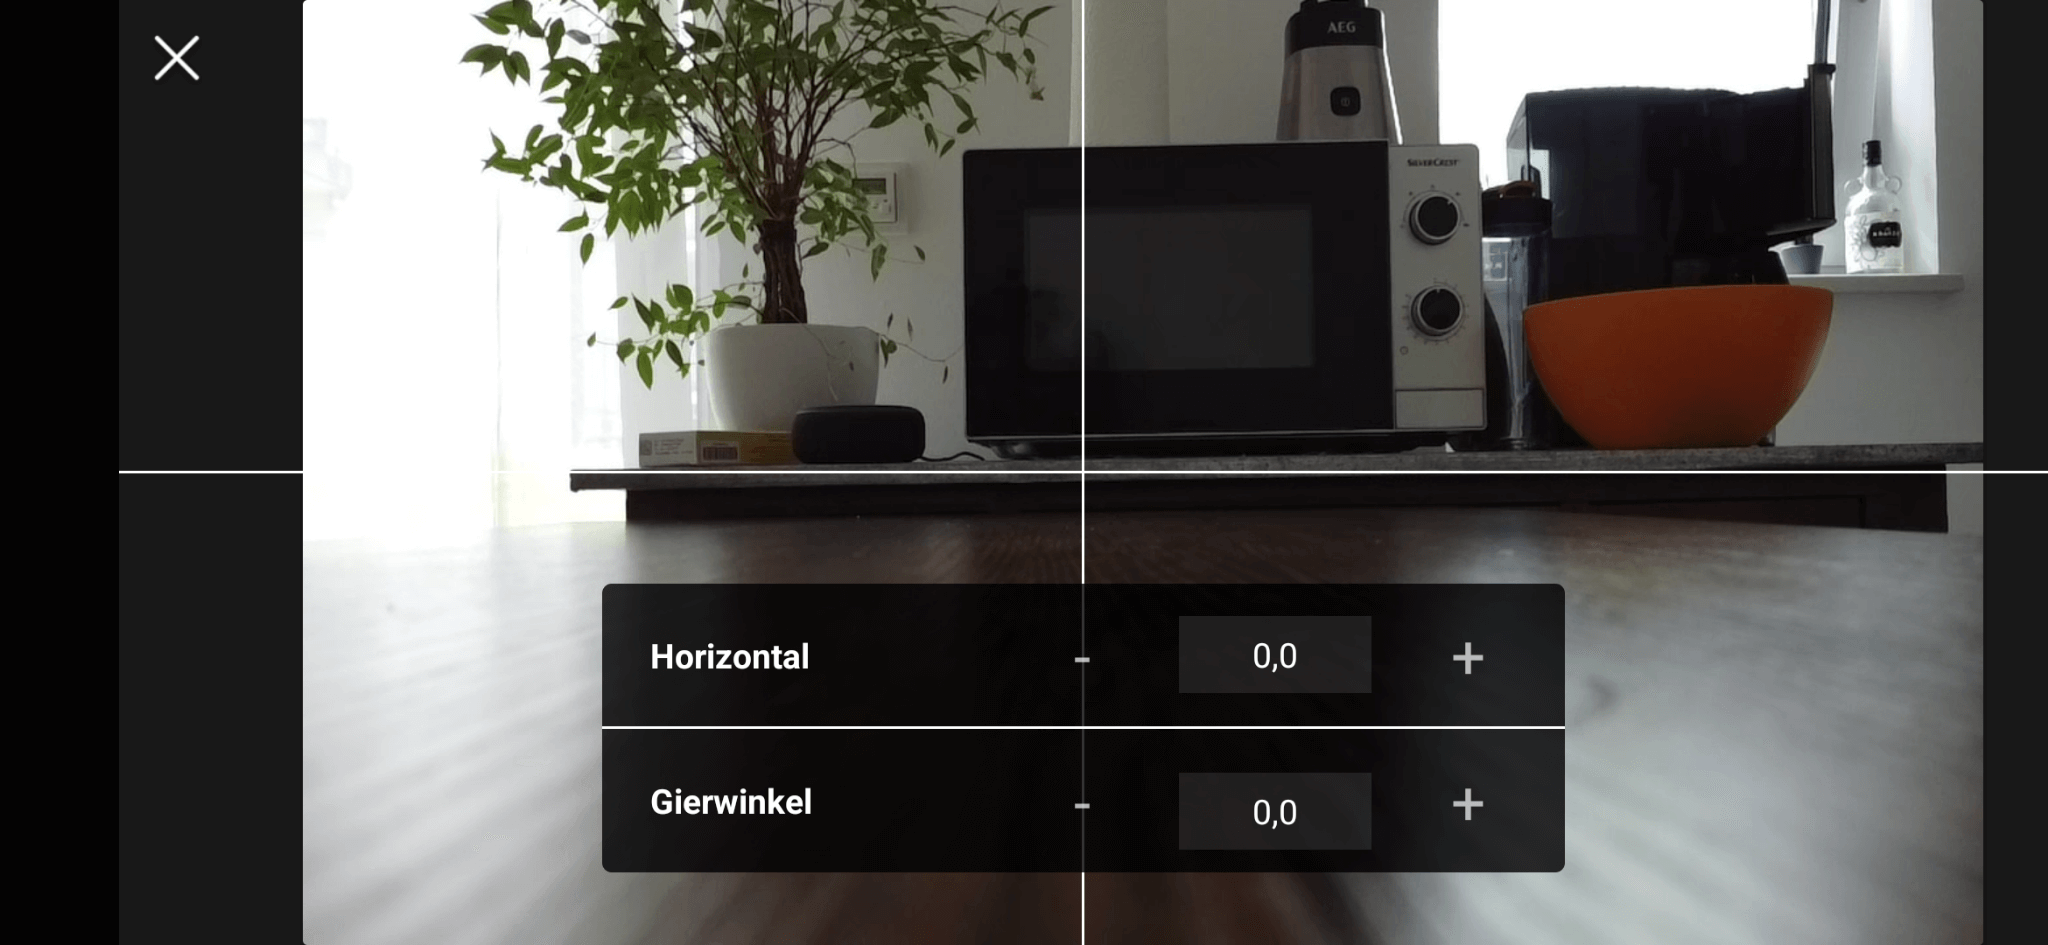
- Most of the time, the horizontal option is decisive. With minus and plus you can rotate the gimbal to the left or right to correct the alignment. Change the values here so that the horizontal guide line in the live image is correctly aligned again.
Done. You have successfully calibrated your gimbal and will get straight shots again.
Calibration is usually necessary at irregular intervals. Before each flight, take a quick look at the live image to see if the alignment is correct and, if necessary, calibrate the gimbal of your DJI Mini 2. This will save you from having to edit the recordings later.
- Gewicht <250g
- 4k-Videoauflösung
- 31 Minuten Flugzeit
- Sofort lieferbar
- kostenloser Versand
DJI Mini 2 Gimbal calibration FAQ
If the camera image of your DJI Mini 2 is not aligned straight, but crooked, it helps to calibrate the gimbal of the Mini 2. You can find out how to do this in this article.
We have put together a guide on how to calibrate the Mini 2 gimbal for you in this article.
There is no fixed time frame for this. As soon as you notice that the camera image of your Mini 2 is no longer aligned straight but at an angle, you can perform a calibration.
Letzte Aktualisierung am 2025-04-22 / Affiliate Links / Bilder von der Amazon Product Advertising API


